

As a homeschooling mom of 4, keeping everyone on task and the little ones busy while the big kids work, can be challenging. I started creating morning activity baskets and crafts for the little boys to do on their own in an effort to keep them busy but, I really needed something that would hold their attention for a longer period of time. I looked into ordering beautifully curated sensory kits from small shops and Etsy but, couldn’t find it in me to invest hundreds of dollars into a handful of kits that would quickly find themselves with lost pieces or needing replacements. So, I decided to make my own! I’ve been sharing weekly sensory play doh kit themes on my Instagram over the last few weeks but, the one I shared for this week is and probably always will stay my favorite. The DIY construction sensory play doh kit is adorable and had my littlest boys playing at our kitchen counter for over 3 hours today. It’s adorable and messy in the best ways!
This post contains affiliate links. By clicking these links and making a purchase, I may make a small commission at no extra cost to you.
What is a Sensory Play Doh Kit?
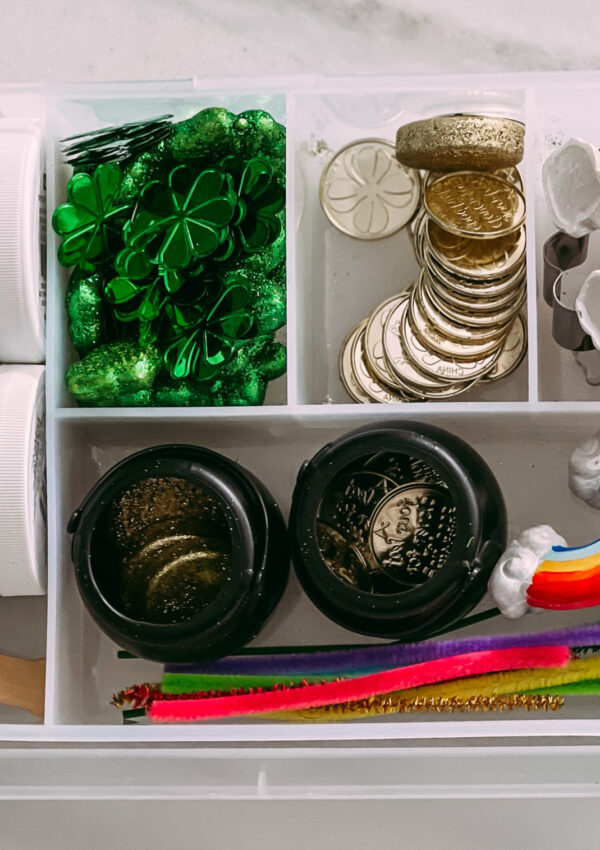
A sensory play doh kit is a pre-prepared boxed collection of small tinker toys, sensory engaging items, and tangible manipulatives which give children the ability to infinitely explore their imagination and sensory cravings without boundaries. Sensory kits usually include things like beans, gems, small toys, beads, craft supplies, and molding doughs like clay, play doh, slime, floam, and cloud dough. Having all of the items put together in one designated box, let’s your child recognize when the fun is about to begin but, most importantly, gives them a place to help tidy up and put everything back once they’re finished exploring.

See it in action on Instagram HERE
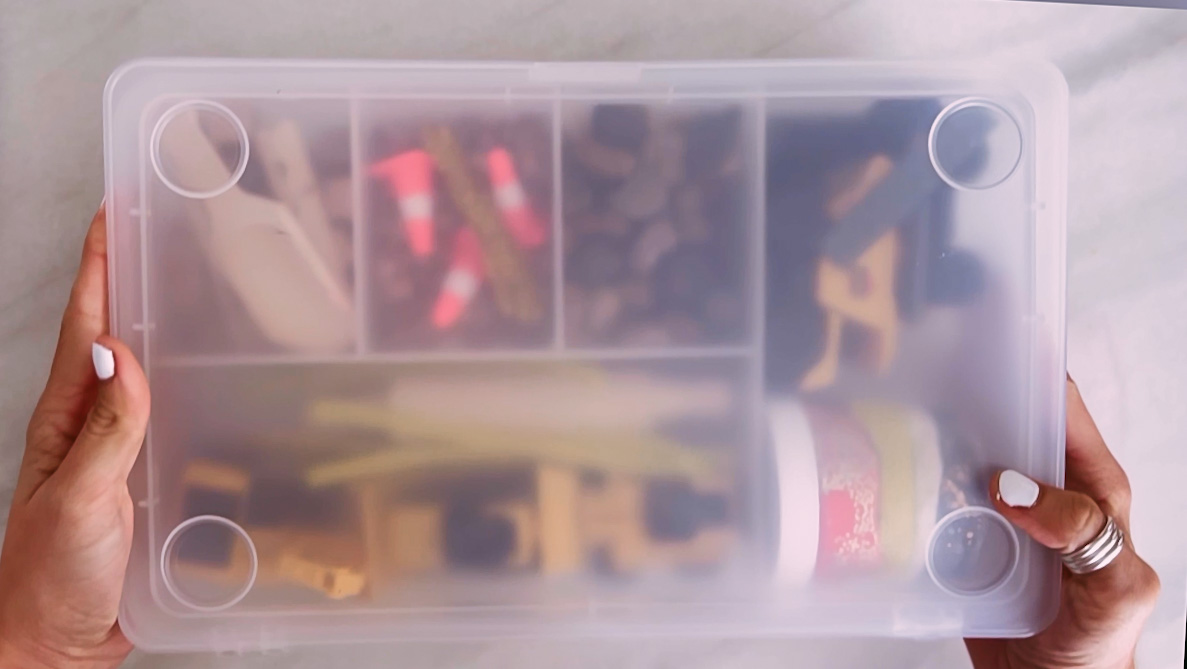
For months I searched for the perfect box. I spent hours researching where to find the boxes that some of the small shops online use. After almost giving up, I somehow stumbled upon it during a late night search on the interwebs and was bummed to see that it was sold out. The box is called GLIS by Ikea. It is every mom’s organization dream. It’s so versatile, under $5, and ideal for sensory kits. I drove an hour to closest Ikea to see if by chance they had some in stock. They didn’t. So, I came straight home and signed up for re-stock notifications. 1 week later, I had them in my hands! They restocked and I placed a pick up order for them immediately. This is my PRO TIP for you: When you see them in stock, do not hesitate. They go out of stock sometimes within hours!
How to Create a DIY Construction Sensory Play Doh Kit
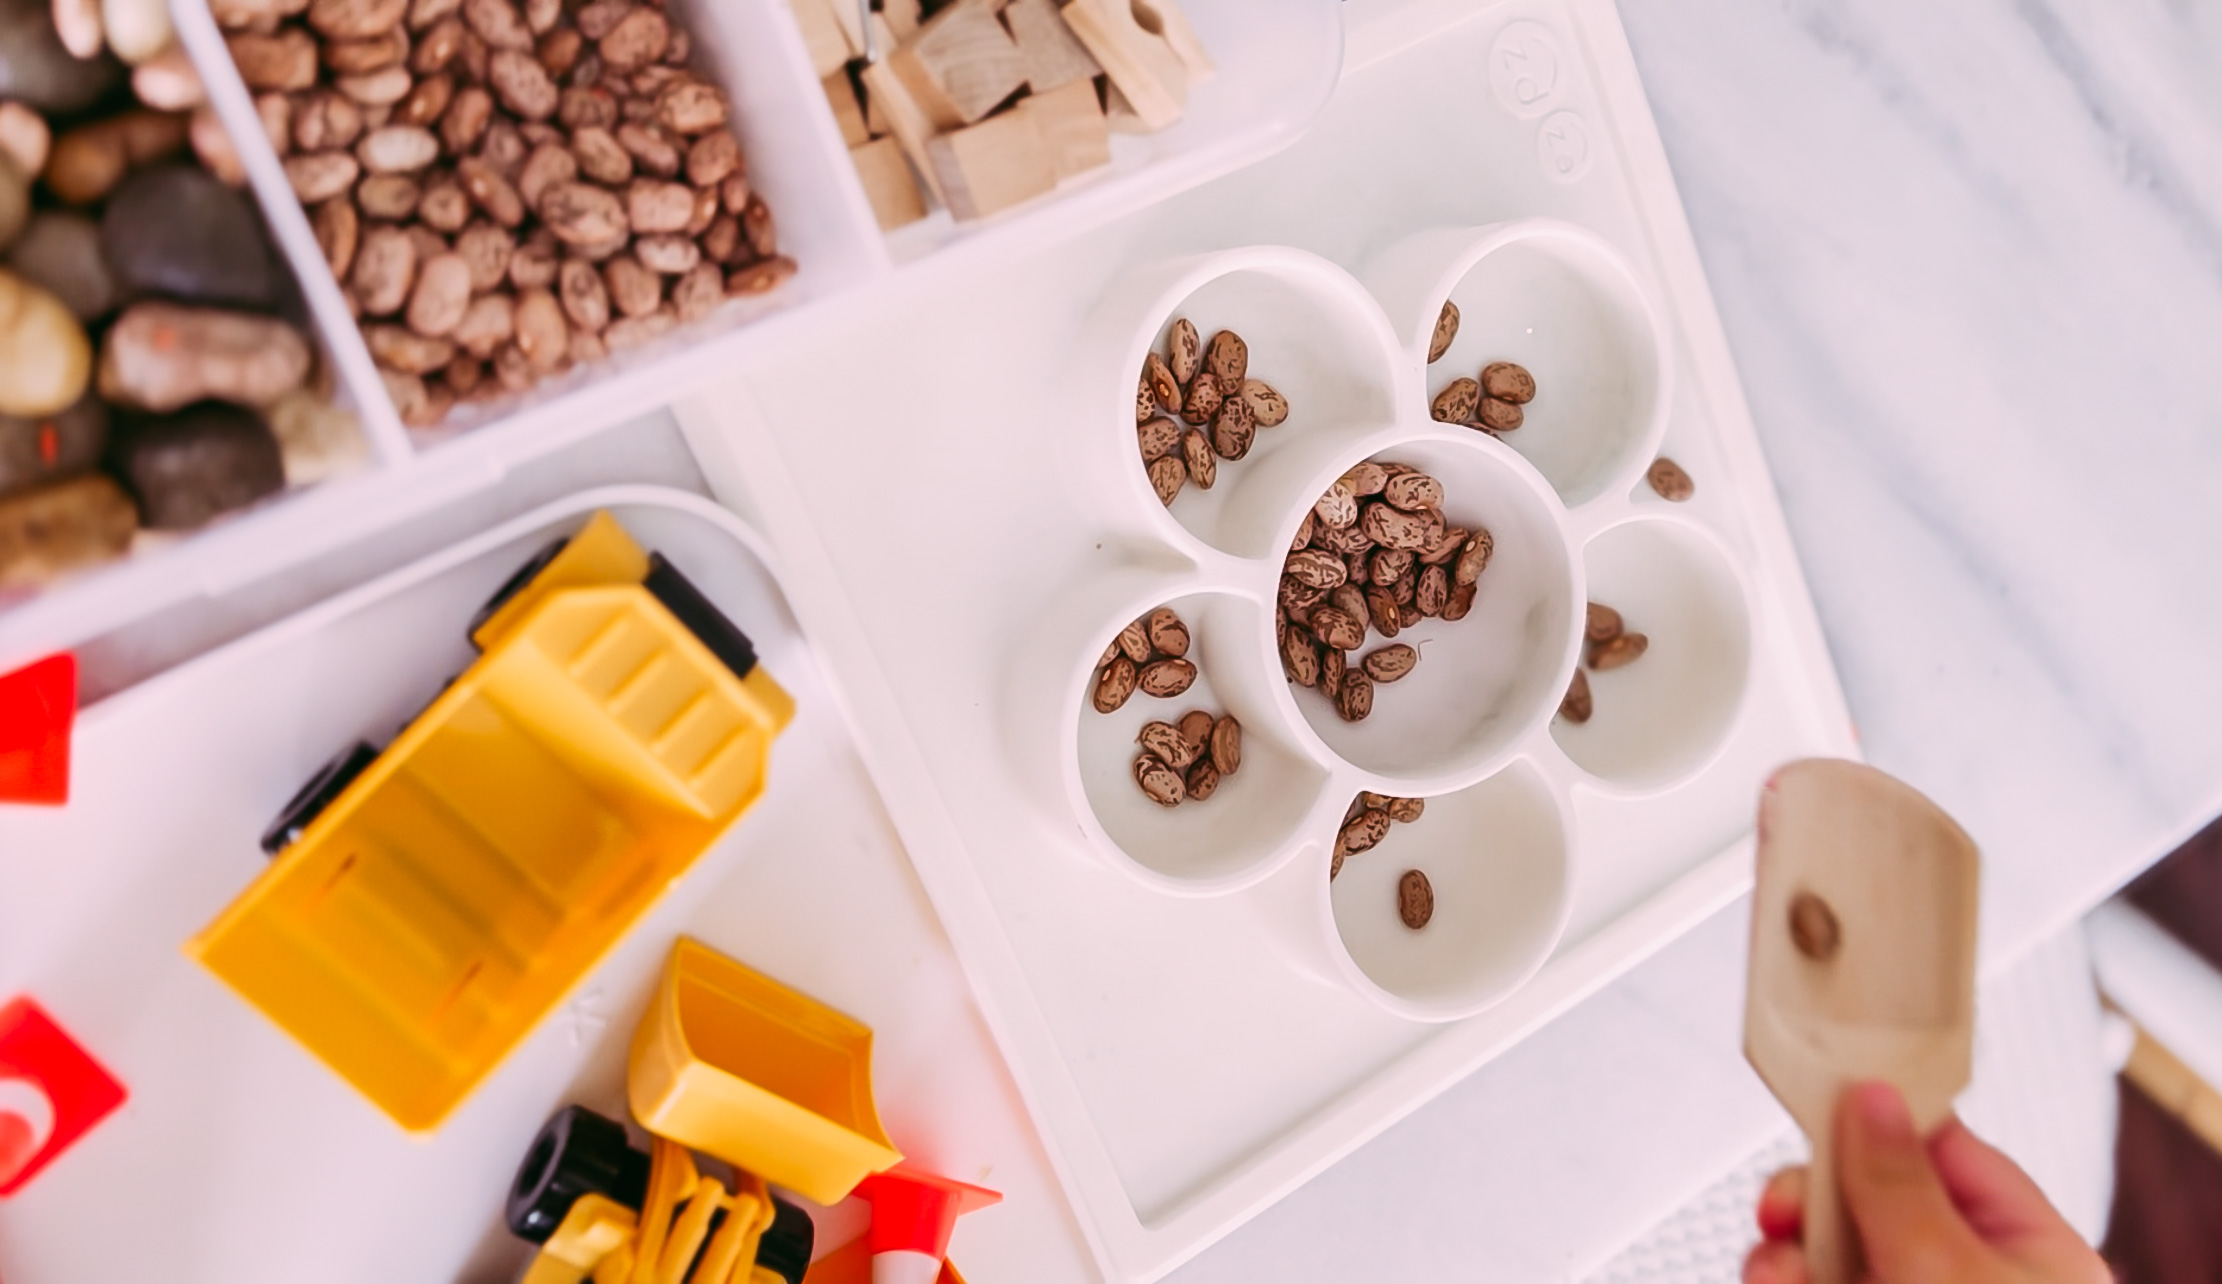
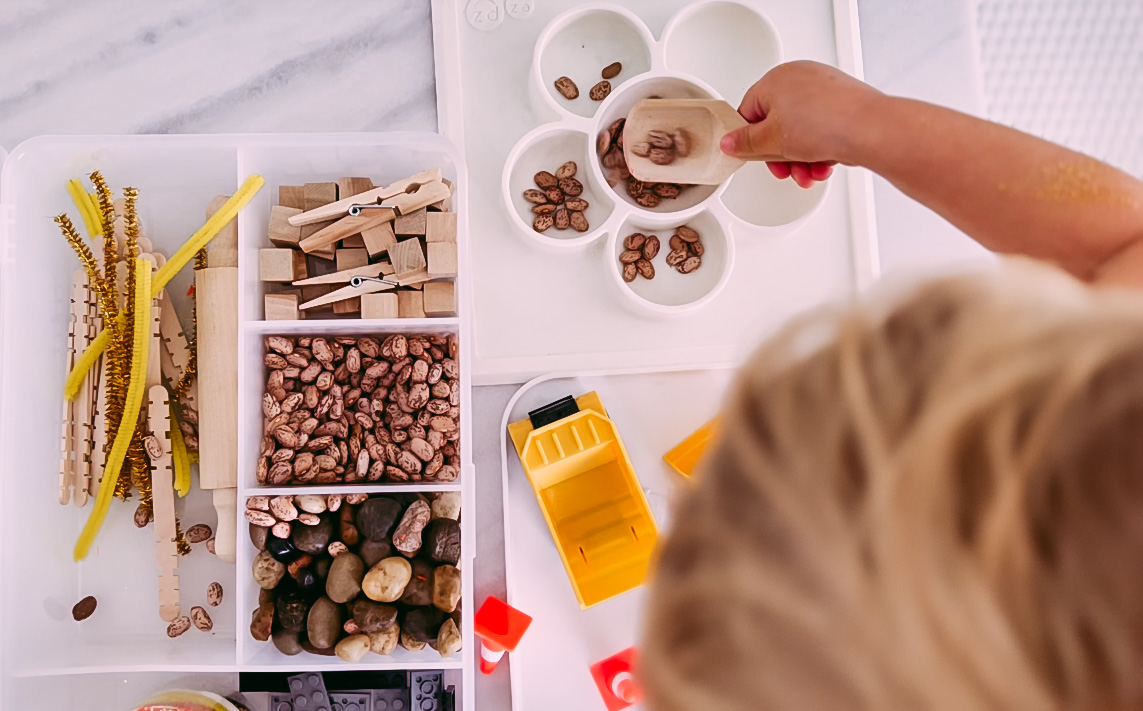
What I love about this DIY Construction Sensory Play Doh Kit is that is has so many options for play and exploration. From the beans to the rocks and the trucks to the skill sticks, our boys truly loved every little bit of this box. What’s so exciting about it is that (minus the box) this cost less than $15 to create! Many of the items were found within our home or at the Dollar Tree and can be reused for other kits in the future.


Supplies for a DIY Construction Sensory Play Doh Kit:
- GLIS Box – Ikea
- Mini Construction Vehicles – Five Below
- Play Doh
- Mini Scoops – Hobby Lobby
- Mini Rolling Pins – Hobby Lobby
- Pattern Rolling Pins
- Skill Sticks
- Pom Poms
- Wooden Spoon – Hobby Lobby Spring Seasonal
Dollar Tree Finds –
- Beans
- Rocks
- Clothespins
- Small Wooden Blocks
- Pipe Cleaners
- Glitter
- Sequins


If you loved this post and want to keep your little one busy during the day, come find me on Instagram for more weekly DIY sensory play doh kit ideas and find the full round up of sensory play doh kits HERE!