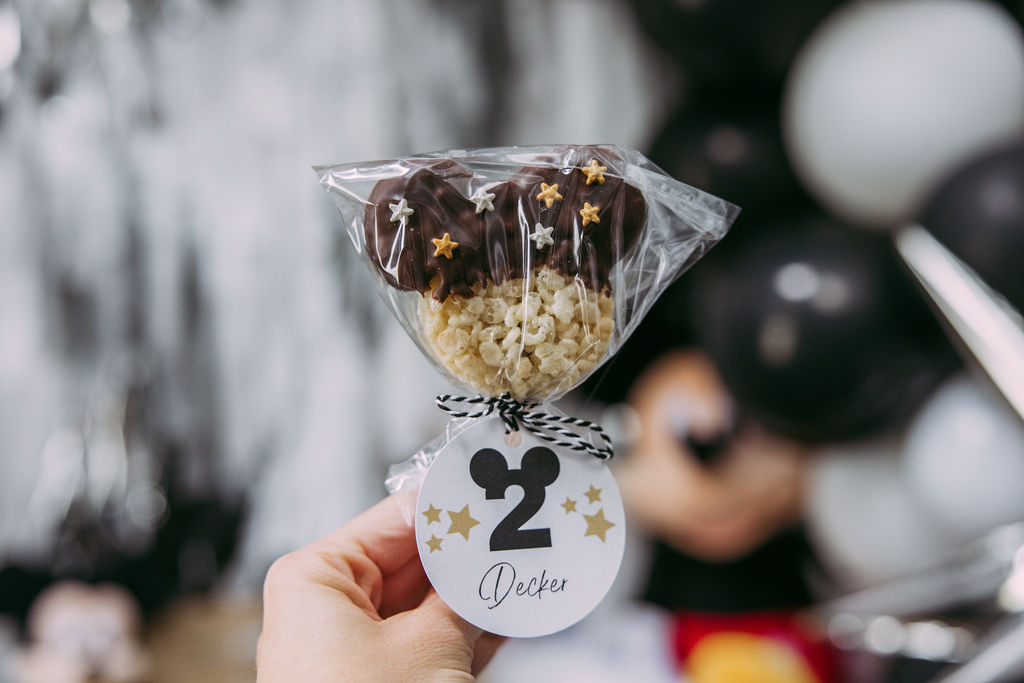
We recently celebrated Deck’s second birthday with a Modern Mickey Mouse birthday party. It was all absolutely adorable but, one of my favorite party details were the Mickey Mouse Rice Krispie Pops. They were easy to make, took less than an hour total with assembly, and tasted as good as the ones from the parks!

What I love about these Mickey Mouse Pops are how they touch on the nostalgia of Disney and all things Mickey. They gave that perfect touch to the party which made guests feel like they were standing in front of Cinderella’s Castle, inhaling the sweet aromas of the confectionary. With the smell of Mickey Waffles and freshly made Rice Krispie Treats in our home, it was truly like standing on Mainstreet smelling the amazing scents of Magic Kingdom.
I added a special touch to these Mickey Treats with the metallic star sprinkles but, you could absolutely use M&M’s, marshmallows, toffee, graham cracker crumble, Oreo pieces, or anything else your sweet tooth desires!
I used the second largest size from this set for our Mickey Rice Krispie Pops.


Mickey Mouse Rice Krispie Treat Pops
Equipment
- Shallow Brownie Pan
- Popsicle Sticks
- Wide-mouthed cup
- Cellophane Party Bags
Ingredients
- Rice Krispie Cereal
- Marshmallows
- Butter
- Almond Bark
Instructions
- For perfect Mickey Rice Krispie Treat pops, follow instructions on the side your Rice Krispie cereal box for making Rice Krispie Treats.
- Spread into a shallow baking sheet or brownie pan. You want your RCT to only be about 3/4 inch thick.
- Once prepared, let sit for 10 minutes and flip the entire pan of RCT onto your kitchen counter.
- Using a kitchen mallet, gently hammer the Mickey shaped cookie cutter into your large block of RCT. Set them to the side.
- Warm up your Almond Bark. I usually use Ghirardelli melts, Almond Bark, and generic brand Almond Bark when using melting chocolate. I have found over the years that these are the best at melting, staying warm , cully covering treats, and taste. (The ones from the craft stores are not it for me.)
- Once all of your Mickey shapes are cut and your chocolate is melted, pour melted chocolate into a wide-mouthed or cup. Your cup will need to have an opening big enough for your Mickey shape.
- Gently use a popsicle stick to stick into the base of the Mickey head. You will need to press firm but remain gentle to keep the shape. Pull the popsicle stick out and dip it lightly into the melted chocolate and insert the popsicle stick back into the opening you created. This will ensure that the popsicle stick stays in place!
- Now, hold the base of your Mickey shape and dip the top half into your melted chocolate, making sure to fully coat each ear. Place onto wax paper (add toppings if you wish) & let sit for ten minutes or until chocolate has fully hardened.
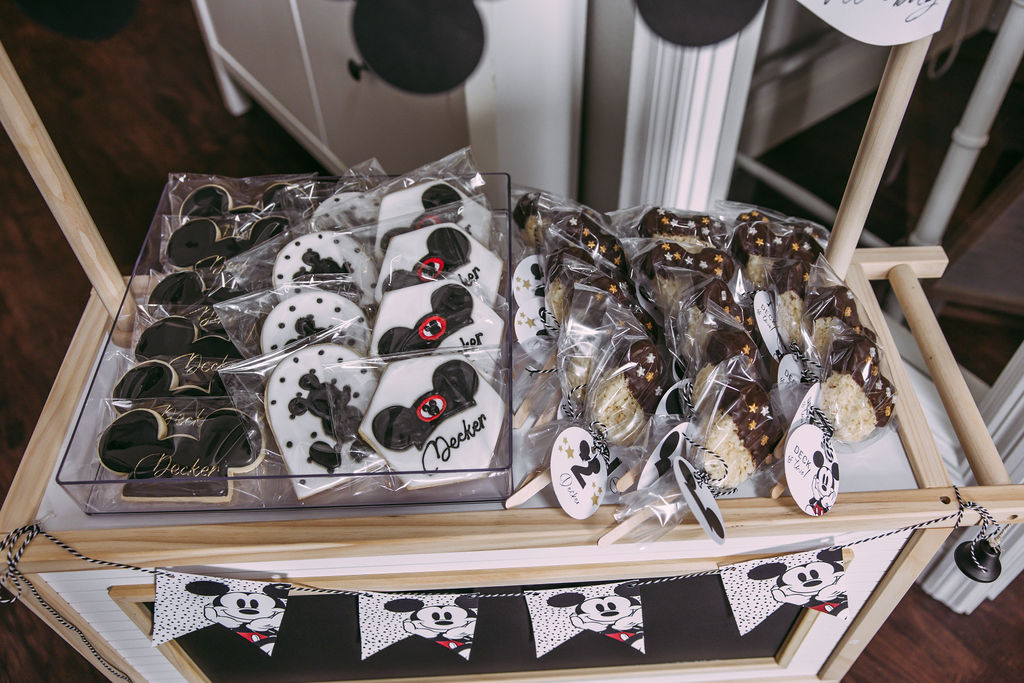
- To wrap them, I cut cellophane party bags down to the size of the popsicle stick and tied them off with a tag and baker's twine.
See the full Modern Mickey Mouse party with Mickey Mouse Rice Krispie Treats HERE!
If you decide to make these adorable treats yourself, I’d love to see. Come find me on Instagram!